
Drip. Drip. Drip. Many of us have been there. That slow drip coming from the kitchen faucet, or that toilet that keeps running. We tell ourselves, we’ll get to fixing that… someday. The truth is, according to the EPA, the average household’s leaks can account for nearly 10,000 gallons of water wasted every year. Add up all those leaks across the country and you have 1 trillion (with a “t”!) gallons of water wasted nationwide annually. Don’t let leaks go unfixed, no matter how small. There’s no better time to fix that leak, than Fix A Leak Week.
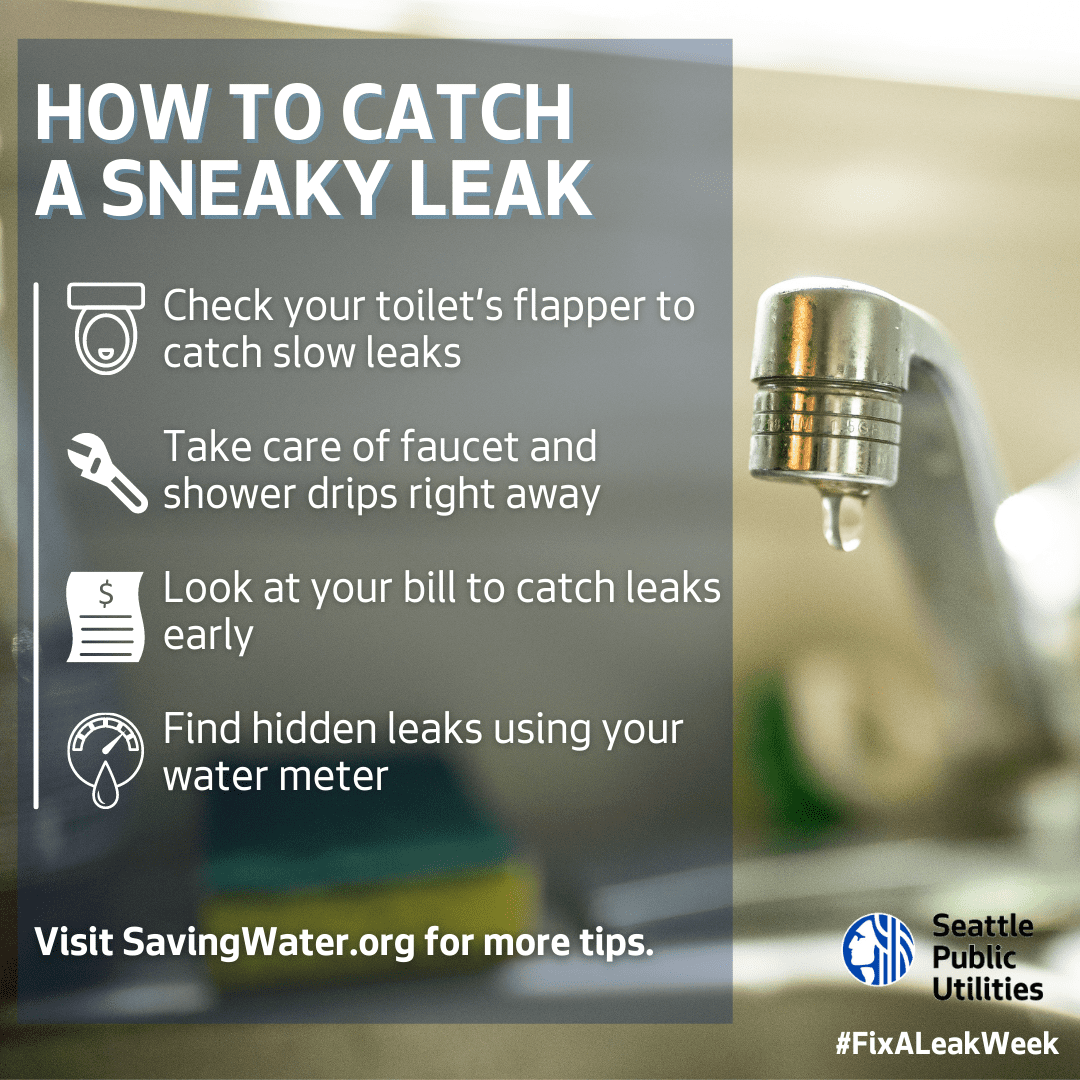
Fix A Leak Week 2021 runs from March 15-21. This annual reminder for people to check household and business plumbing fixtures for leaks is a nationwide campaign aimed at saving wasted water. In honor of this occasion, SPU has compiled some helpful tips and tricks so you can find and fix some your pesky (and often costly) leaks.
Toilet Leaks
The first step is noticing the signs that you have a toilet leak. These include:
- Hearing your toilet tank refilling constantly or between flushes
- Seeing water flow or dribble into the bowl even when you haven’t flushed it
- Having to jiggle the handle to get the toilet to stop running
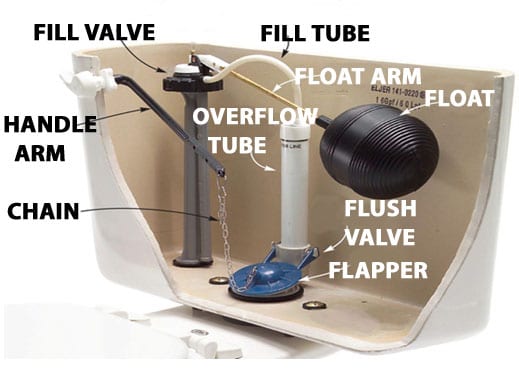
- Seeing or feeling the rubber valve between the tank and the bowl (called a flapper) is starting to show signs of wear
Next you’ll want to test for a slow toilet leak. You can test this using food coloring to check for a slow leak.
- Remove the toilet tank lid and place several drops of food coloring in the tank
- Replace the lid but don’t flush
- Wait at least 10 minutes
- If you see color in the bowl, you have a leak and it’s probably the flapper
If your toilet’s running, you better go catch it fix it. After you’ve found your toilet leaks you’ll need to repair them. For more information, and steps on how to fix toilet leaks, see our Saving Water website which features step by step help as well as videos.
Indoor Faucet Leaks
Drippy faucets happen. Many times it’s an easy fix replacing a worn out rubber washer, taking less than 30 minutes. To fix this issue you’ll need to:
- Locate your water shut-off valves (usually under the sink),
- Gather the tools you’ll need which should include a flathead screwdriver, a wrench, and whatever replacement parts you’ll need (most likely, a new washer)
You can find more detailed step by step instructions and videos here.
Outdoor Faucet Leaks
If you have outdoor faucets, it’s important to not forget to check those for leaks as well. These usually leak in one of two places, the handle and spout. This can be a relatively easy fix.
- To fix a handle leak, try tightening the packing nut with a wrench. If that fails to stop the leak, you’ll have to remove the faucet’s valve stem assembly. See steps below.
- To fix a spout leak, you’ll have to remove the valve stem assembly from your faucet to fix a leak coming from the spout.
You can find more tips on fixing outdoor leaks, as well as video guides, here.
After you’ve identified and fixed your possible water wasters, see if you notice much difference in the next few days in your water meter output. If it still seems high, you may want to call a professional as the leak may be harder to identify than you initially thought. It’s important to know your own DIY limitations.
Fix A Leak Week is a great reminder that with a few preventative measures, you can stay on top of potential leaks before they get out of hand, thus saving you money and helping to conserve water. For more tips, visit SavingWater.org.